Creating Christmas Light Effect with WLED
🗓️ • ⏱️ 4 min read
🗓️ • ⏱️ 4 min read
I recently started using WLED for a few DIY projects around the house. One of the more recent ones is adding SK6812 RGBW lights around the upper wall perimeter in my home office. The majority of the time I have them running on cool white while I’m working but with Christmas upcoming I wanted to make it feel festive. I usually run a strand of traditional multi-color Christmas lights around my whiteboard but figured I should be able to also recreate the same effect with the LED strip.
WLED is an amazing open-source library for controlling individually addressable LEDS like the SK6812s. There are dozens of baked in effects but to my surprise there isn’t one to mimic Christmas lights. The types of lights I am trying to mimic looks something like this.
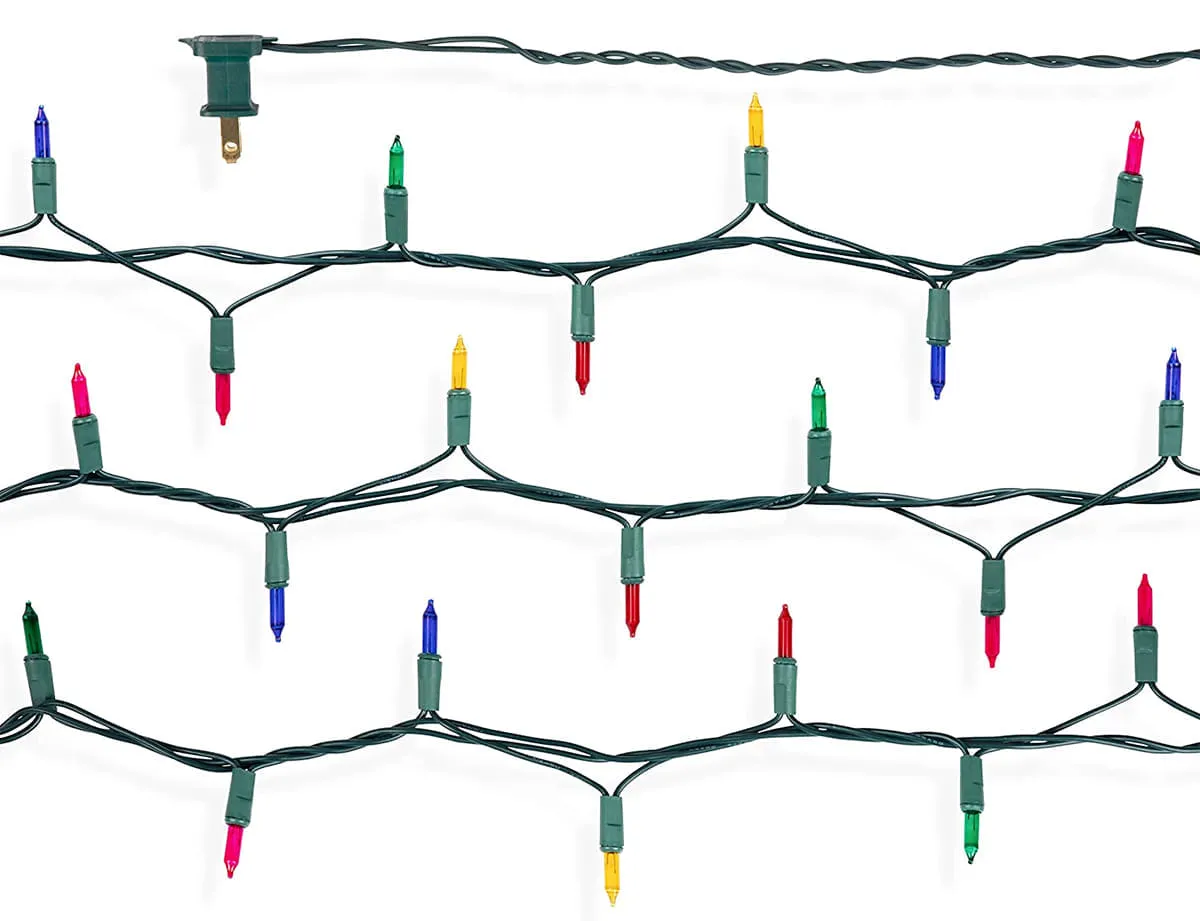
Repeating colors spaced apart by a few inches. After some searching around I found some hints but could not find a detailed example to achieve this effect. I was able to figure it out which is why I’m writing this post. The key to get this working is to create a segment for each color you want to display. From there you’ll need to do some simple math to set the segment fields. This should theoretically work with as many colors as you’d like but I haven’t tested it with other values.
I would recommend keeping track of the following on some paper or notes on your computer.
First thing to do is to count how many LEDs you have in your strip (or how many you want the effect to occupy).
In my instance it is 300. We’ll call this numLEDS.
Next thing to figure out is how many LEDS you want spaced in between each color.
I have a 60LED/m strip and 3 LEDS occupies about 3 inches. Let’s call this spacer.
Lastly, we’ll need to know how many colors you want to display.
I wanted 5 (red, green, orange, blue, yellow). For this one we’ll name it numColors.
numLEDS = 300spacer = 3numColors = 5Now that we have that out of the way we can go ahead and start making changes in WLED.
For each color you want to display, create a new segment in WLED. In your notes give each color a number starting at 0.
red = 0green = 1orange = 2blue = 3yellow = 4Once your segments are created you can start filling out the values.
Each segment will have a different value for the START LED field. All the other fields will be the same across segments.
colorNum * (spacer + 1)// red = 00 * (3 + 1) = 0
// green = 11 * (3 + 1) = 4
// orange = 22 * (3 + 1) = 8
// blue = 33 * (3 + 1) = 12
// yellow = 44 * (3 + 1) = 16The value of numLEDS. In my case 300.
1
(spacer * numColors) + numColorsFor me, that looks like the following:
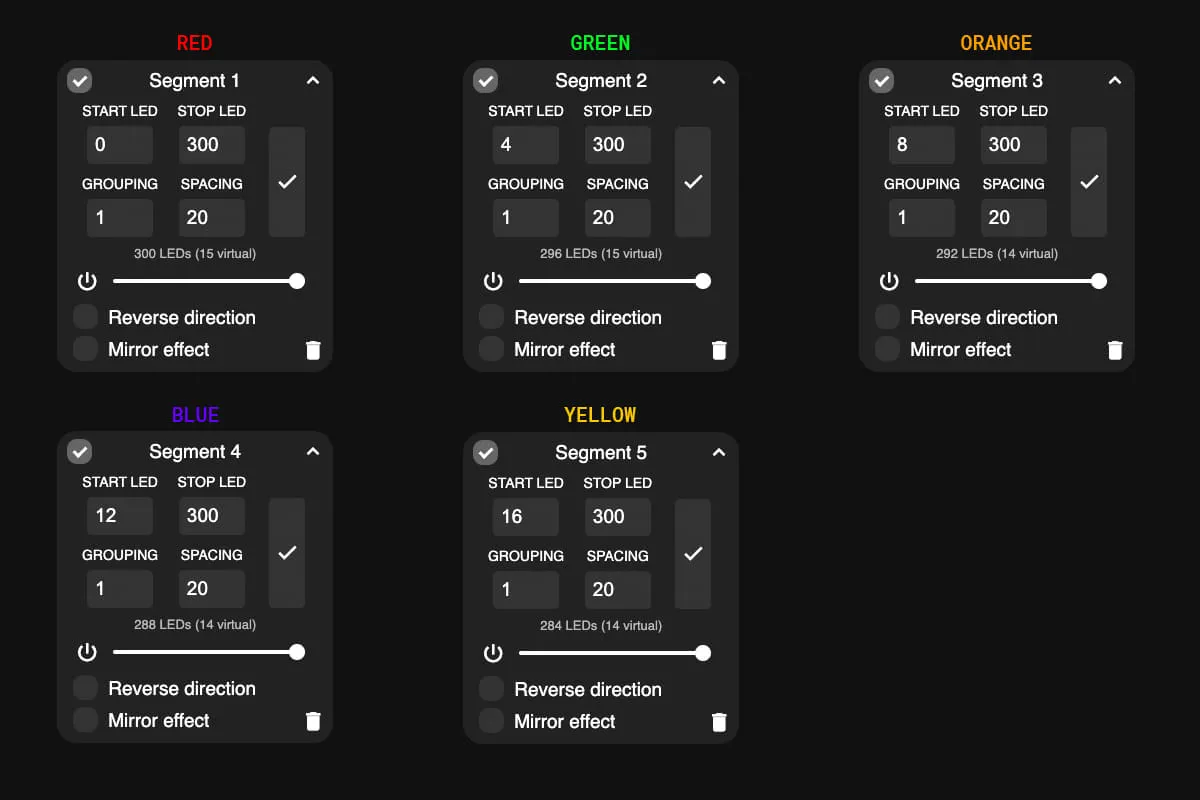
(3 * 5) + 5 = 20Once your segments are created and values populated you can click each “Segment” title to select the segment then use the color palette to choose the color you want to display in that segment.
Here is what my 5 new segments look like with labels added to show which color they control.
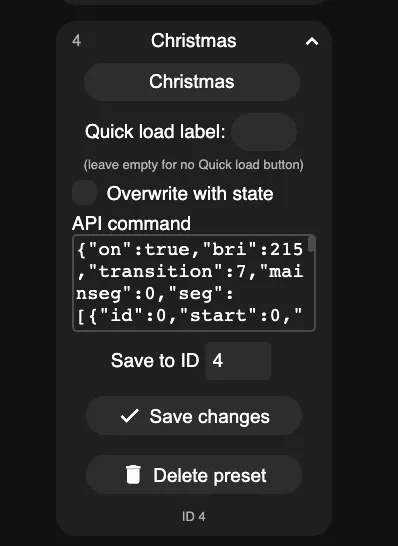
Additionally you can turn on all your newly created Segments and create a Preset and select the “Use Current State” checkbox to easily load up the effect.
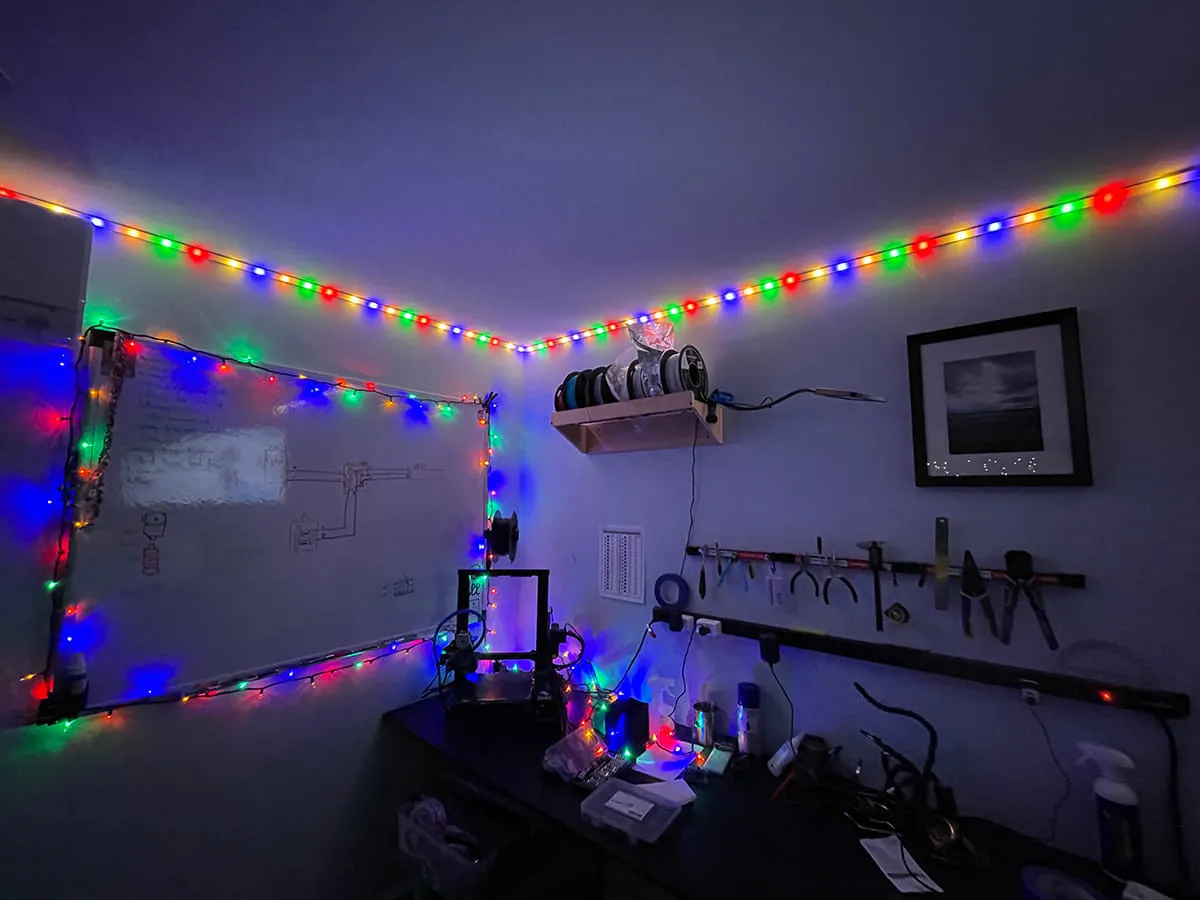
Here is a photo of my office with the effect in action. Notice how well the LED strips match the traditional string lights around my whiteboard.
If someone has a better way to achieve this please do share. Enjoy and happy holidays!
Found the above useful? Have a question? Thought of something I didn't?
Consider leaving a comment below or send me an email at johnzanussi@gmail.com.
You can also buy me a coffee. Cheers!

Comments